This set of Oriental gymnastics promotes muscle development, health, and vitality.
The complex of Eastern gymnastics promotes muscle development and strengthens health and vitality. Before doing exercise, it is good to conduct water procedures (rubbing, douches, showers).
Water procedures not only harden, and reduce susceptibility to colds, but also have a beneficial effect on the nervous system. The pores of the body open and the whole body begins to “breathe”, which contributes to the effectiveness of physical exercise.
1. Developing memory and willpower.
- Stand up straight; feet together, mouth closed.
- Tilt your head as far back as possible.
- Open your eyes wide and keep them that way.
- Concentrate on the parietal area.
- Breathe out and in through your nose.
The exercise is done 5-10 times.
2. Developing intelligence.
- Stand up straight with your feet together and your hands on your hips.
- Close your eyes.
- Tilt your head forward and rest your chin in the jugular between the collarbones.
- Concentrate your attention on this spot.
Then do the exercise “bellows”, i.e. straighten the spine, breathe in quickly and strongly, and after 7-14 seconds exhale (with the controlled abdominal press) – as fully as possible.
At the end of the delay, breathe in more air, and then slowly and fully exhale through the right nostril.
Do this 5-10 times.
These two exercises have a favorable effect on nervous tension.
3. Cheek rejuvenation
- Stand upright and close your thumbs over your nostrils.
- Keep your eyes open.
- Pull your lips forward.
- Pull the air in sharply through the narrow opening of your mouth, making a hissing sound.
- Then tilt your head forward and hold the air in your mouth.
- Cheeks are inflated, and the chin is in a jugular fossa between collarbones.
- Hold in such a condition for a pause after a breath.
- Lift the head and make a quiet exhalation through the nose.
- Exercise improves facial muscle tone.
- Retracted through the mouth, a strong jet of air has a sanitizing effect on the teeth and gums, acting favorably with pyorrhea and tooth decay, and eliminating bad breath.
4. Strengthening the neck.
The exercise consists of three movements:
(a) Standing straight, relax the neck, then sharply turn the head to the left and right. Repeat 5-25 times;
b) standing straight, tilt your head sharply forward and backward. Repeat 5-25 times;
c) while standing straight, tilt your head to the right and left (5 times each). Breathe normally. When bending over, try to keep your shoulders still (after a while you will be able to put your ear to your shoulder).
This exercise strengthens the muscles of the neck. It relieves tonsillitis, and pharyngitis makes your voice more audible and helps to eliminate speech defects.
5. Strengthening the shoulders
- Standing straight, clench your fists (put your thumbs in the palm of your hand) and bend your elbows at right angles.
- Quickly straighten your arms forward to shoulder height. Return to starting position.
- Breathe normally.
- Repeat the exercise 5 to 25 times.
- Exercise strengthens arm and shoulder girdle muscles.
- 6. Strengthen your elbows.
- Standing straight, squeeze your fists (put your thumbs in your palms).
- Abruptly bend your elbows, and raise your arms to shoulder level.
- Then return to the starting position.
Do the exercise 5-25 times.
Repeat the movement with unclenched hands without touching shoulders and hips. This exercise strengthens the muscles and joints of your arms and creates a foundation for better asana training, making your arms more flexible and strong.
7. Arm Strengthening.
The exercise consists of two movements:
(a) Standing straight, raise your right arm to the side and upward with the palm outward.
- Return to the starting position. The hand should not touch the head.
- Repeat this movement with the left hand.
- Then raise both hands up with palms outward, they should also not touch;
b) Standing up straight, make a fist with your left hand and put your thumb in your palm.
- Breathe in through your nose, hold your breath and make several circular movements with your left hand in a forward-up-back-down direction.
- When you can’t hold your breath, bend your arm at the elbow and forcefully exhale the air.
- Repeat the same movement with the same hand in the opposite direction; back – up – down.
- Do the same with your right hand and then with both hands.
- This exercise strengthens your arm and shoulder muscles.
8. Development of hands.
The exercise includes several movements:
(a) Standing straight, bend your fingers and raise your hands forward to shoulder level. Move your fists up and down with tension. Do this five times;
b) while standing straight, lift your arms bent at the elbows through the sides. Extend and flex your hands (up and down) as in the previous case. Repeat 5 times;
c) standing straight, with arms stretched forward, straightening hands (fingers together). Bend and unbend your hands as indicated in “a” and “b”. Repeat five times;
d) standing straight, raise your arms to your sides, bending them at the elbows. Move your hands (palms open, fingers closed) up and down;
e) repeat exercises “c” and “d”, but with the fingers maximally extended.
Repeat each movement five times. They strengthen your hands and fingers.
At first, you will be tired, but with systematic training, your hands will get stronger.
Breathe normally with all the movements you do. Your attention should be directed to the parts of your body that are being exercised.
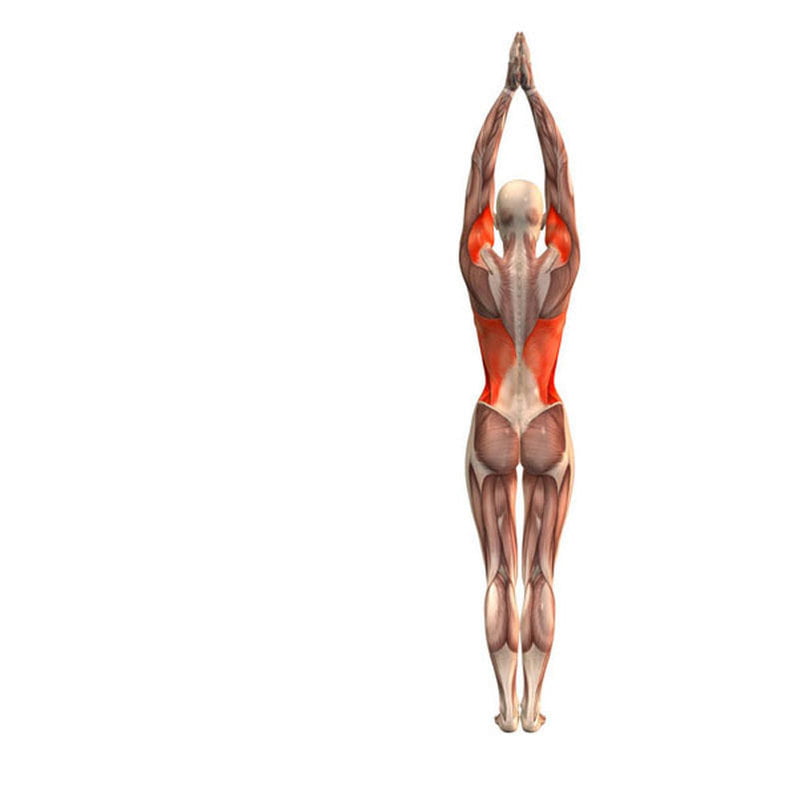
9. Chest Development.
The exercise has two variants:
(a) Standing straight, raise your arms up.
- Breathe in through your nose, leaning back as far as possible at this time.
- Hold this position for as long as possible.
- Repeat five times;
b) from the same starting position bend backward strongly, breathing in through your nose.
- Arms stretched backward are plumb to the floor.
Repeat 5 times.
Exercise develops the chest, and strengthens the muscles of the trunk. Increases the mobility of the spine and ribs, which makes breathing movements more effective.
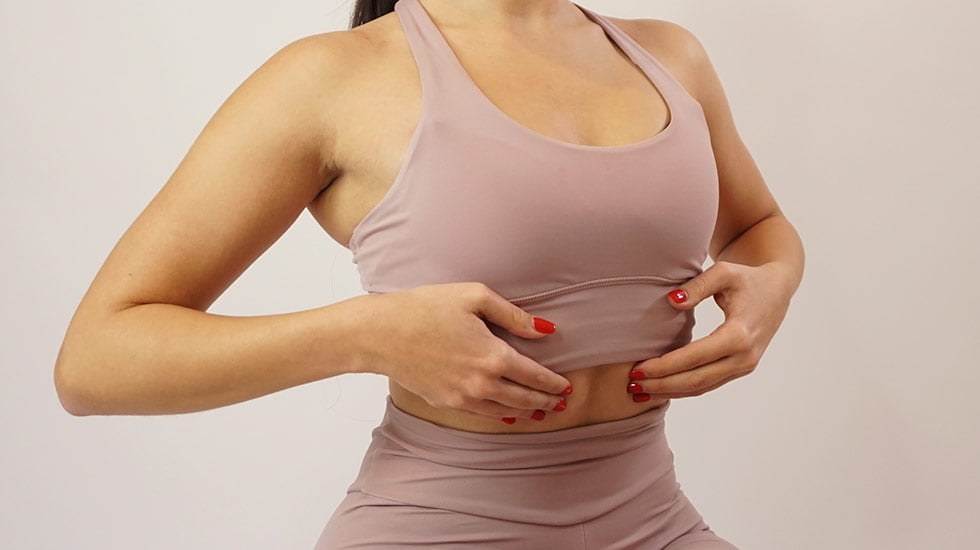
10. Strengthening the abdominal muscles.
The exercise has the following variants:
(a) Standing up straight, tilt your head back strongly (as in the first exercise). Do quick exhalation and inhalation, bulging and retracting your abdomen.
Repeat 5-25 times;
b) standing straight, fold your lips in a tube and pull them forward.
- Take a sharp breath through the gap in your lips and at the same time tilt your head forward.
- Your chin rests on the jugular fossa between your collarbones.
- Hold your breath and inflate your cheeks.
- Then instantly exhale through your nose.
- Repeat 5 times;
c) standing straight, bend horizontally and put your hands on your lower back (thumbs pointing forward, the rest pointing backward).
- Look straight ahead.
- Take a quick inhale and exhale, bulging and picking up your belly.
Start with 25 repetitions.
Taking a horizontal bend and placing your hands on your lower back, exhale through your nose and, without taking a breath, begin to quickly retract and pick up your belly.
After holding your breath for as long as possible, take a slow breath.
Exercises train abdominal muscles, regulate the activity of the digestive system and endocrine glands and prevent obesity.
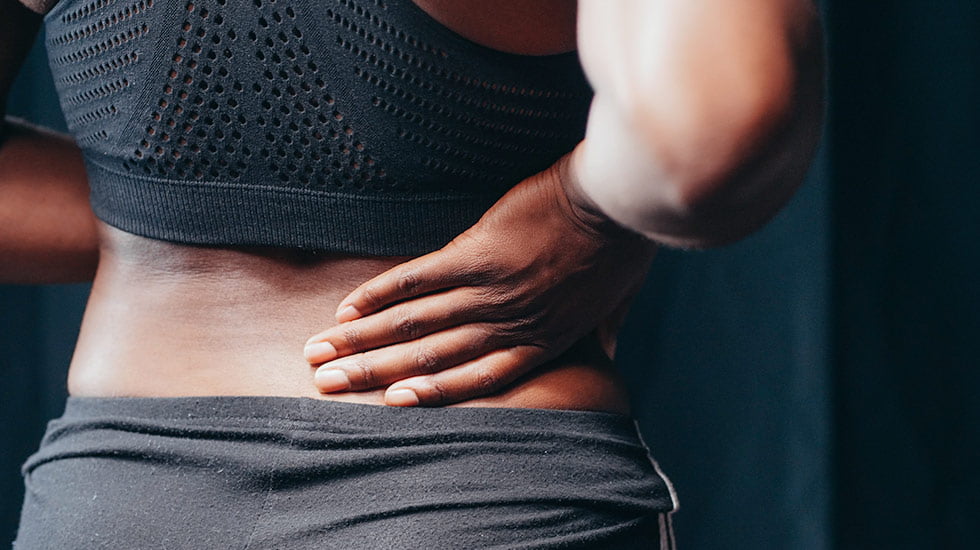
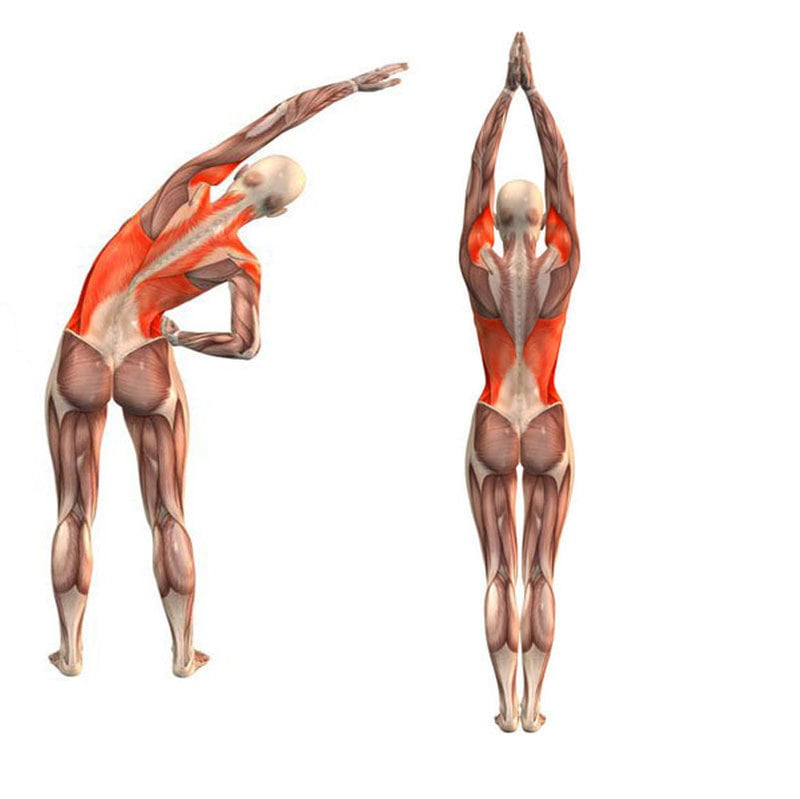
11. Strengthening the back.
The exercise includes several movements:
(a) Standing straight, squeeze your right hand into a fist (thumb inside palm) and bring it behind your lower back.
- Grasp the right hand with the left hand so that both hands rest against the back.
- Take a full breath in through your nose and lean back as far as possible.
- Pause for a moment and, exhaling air, lean forward until your forehead reaches your knee.
Start with 5 repetitions;
b) standing straight, with your feet as far apart as possible, place your hands on your lower back, with your thumbs pointing forward and the rest pointing backward.
- Inhale and bend backward as much as possible.
- Make a pause.
- Breathe out and lean forward until your head touches the floor. Repeat five times;
c) standing straight (palms on hips), take a breath, and bend to the left as much as possible with a jerk. Hold for a moment and return to the starting position, exhaling. Then do the same to the right side.
- Repeat five times.
- Make sure your arms are in line and your body does not lean forward or backward;
d) standing straight with your legs apart and arms outstretched forward, take a breath, and turn to the left, making a semicircle with your arms. Watch the movement of your arms with your eyes. Pause for a moment and exhale, returning to the starting position.
- Do the same on the right side.
- Repeat five times.
- The exercise increases the flexibility of the spine. Regular exercise corrects its curvature. Strengthen the muscles of the body, improving gait and posture.
12. Development of the hips.
This exercise has three movements:
(a) Standing straight, take a breath through the nose, lift your hands up and jump apart your feet, standing on your toes. Do the same jump back to the starting position together with an exhalation. Your hands should not touch your hips, knees should not bend. Start with 10 reps;
b) standing straight with your arms outstretched forward, breathing in through your nose, and gradually squatting down until your hips are parallel to the floor. Keep your knees together at all times.
- Return to the starting position while breathing out. If at first, it is difficult to hold your breath, you can breathe normally until you have mastered the exercise. Repeat five times;
c) standing straight, on your toes, arms outstretched to the sides, take a breath and slowly squat, pulling your knees apart, not, however, bringing the squat to heel planting. Keep your feet in contact with each other with your heels and toes.
- Hold your breath in this position. Slowly return to the starting position and exhale. If at first holding your breath is difficult, breathe normally until you have mastered the exercise. Repeat 5 times.
The exercise develops the muscles of the hips.
Thin legs get a beautiful shape, and fat legs get free of excessive fat deposits.
13. Development of the shins. Standing straight, squeeze your hands into fists (thumbs inside the palm). Take a breath through your nose, sit down fully and raise your hands forward, palms down. Your feet should not come off the floor, your knees should be together at all times.
- Hold your breath. As you exhale stand up and at the same time make a complete circle down and back with your hands. Repeat five times.
- Exercise strengthens lower leg muscles and gives them a beautiful shape.
14. Development of feet.
Standing straight, lift on toes. Make springy movements, standing on your toes, and making sure that your heels and toes are together all the time.
- Then, without standing on your full foot, jump up as high as you can and lower yourself back down on your toes. Make sure your heels and toes are together at all times.
- Try to return to the same place from which you jumped. The exercise is performed 10-25 times.
- Exercise helps to maintain a normal configuration of the arch of the foot and protects against flat feet.
15. Development of the ankles.
The exercise consists of two movements:
(a) Standing up straight, lift your right foot slightly (about 25 cm from the floor) and make a circle with your foot, making a movement in the ankle joint first from right to left, then from left to right.
- Do the same with your left foot. Repeat the exercise five times with each leg;
b) standing straight with your arms apart (body straight but relaxed), put your feet together, and squat slightly, the weight of your body on your toes.
- Try to keep your body in this position for as long as possible.
- The exercise strengthens the ankles.
- It may be supplemented with a variant that strengthens the knees. Throw your leg forward sharply, then bend it, pulling the shin back.
- The torso must remain in a strictly vertical position.
- Do the same with the other leg.
*These articles are for informational and educational purposes only and are not intended as a substitute for professional medical advice, diagnosis or treatment. Always consult your physician for any questions you may have about your medical condition.